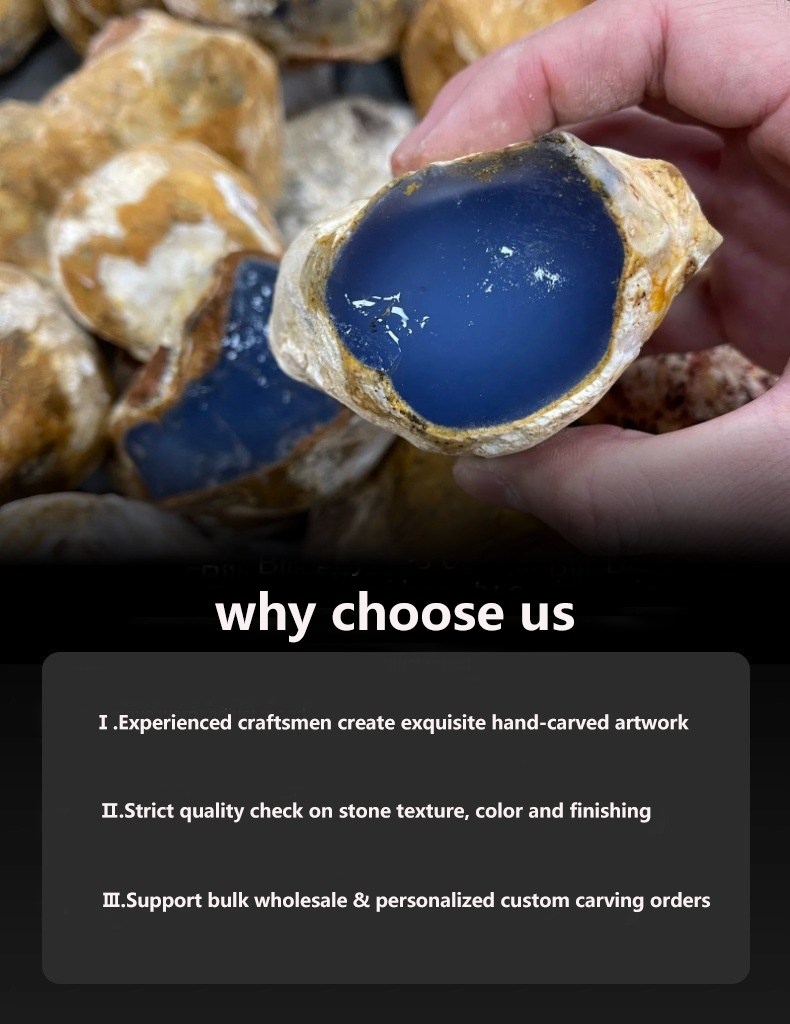
if you’ve ever worked with blue chalcedony rough, you already know—it’s a gem that can either make your day or drive you nuts. The color is gorgeous, the hardness is just right (around 6.5–7 Mohs), and when you hit that perfect polish… man, nothing else looks quite like it.
But getting that mirror finish? That takes a little know-how.
I’ve cut probably a few hundred pounds of natural blue chalcedony over the years, and in this guide, I’ll walk you through exactly how I do it—from a lumpy rock to a glossy cabochon.
And yeah, if you need good rough, we do sell blue chalcedony rough in our shop. No pressure. But I’ll save that for the end.
What You’ll Actually Need
No fluff. Here’s what works:
- Blue chalcedony rough – palm-sized (3–10cm) is easiest to start with
- Trim saw or slab saw – diamond blade, obviously
- Cabbing wheels – 80, 220, 600, 1200, 3000 grit (don’t skip grits)
- Polishing – cerium oxide on leather/felt, or diamond paste (50k)
- Safety glasses + water cooling (non-negotiable)
Step 1: Look at Your Rock First
Hold your natural blue chalcedony up to a bright light. What do you see?
You want:
- Even color (that creamy blue is prime)
- Few fractures – tiny surface cracks are fine, but deep ones will haunt you later
- Good translucency. If light barely passes through, skip that piece.
Honestly? The best rough gemstones for sale aren’t the flashiest. They’re the ones with no hidden surprises.
Step 2: Slabbing
Cut slabs about 5–8mm thick, parallel to any color banding you see. That’s where the stone gives you the most yield.
Try to keep it wet the whole time. Dry cutting = micro-fractures = sad cab.
Step 3: Shape the Cab
Trace an oval, pear, or round template. Rough it out with a diamond saw or grinding wheel.
And please—keep it wet. Overheating is the #1 way to ruin blue chalcedony rough before you even start.
Step 4: Grind & Sand (This Is Where Most People Mess Up)
Go grit by grit. No shortcuts.
- 80 grit – shape the dome, leave ~2–3mm height
- 220 grit – smooth the dome, clean up edges
- 600 grit – remove previous scratches
- 1200 grit – pre-polish
- 3000 grit – final sanding before polish
If you jump from 220 to 1200, you will get a cloudy polish. Trust me, I’ve done it.
Step 5: Polish to That Mirror Shine
Cerium oxide on a leather or felt pad, slow speed, light pressure. Wait 2–3 minutes and you’ll see the magic happen.
For extra pop? Follow with 50,000 diamond paste. That’s pro-level.
Common Problems
-
Cloudy polish → you skipped a grit. Go back to 600.
-
Cracks appear after cutting → your rough was too dry. Cut wet next time.
-
Dome lopsided → mark the center with a pencil before grinding. Check often.
Where to Get Decent Blue Chalcedony Rough
Not all rough is the same. We hand-pick ours from reliable sources—no junk, no big vugs, no brown spots. If you want to skip the gamble, here’s our current blue chalcedony rough for sale.
But even if you buy elsewhere, the steps above will work. Just don’t rush the polish.
Last Thing
Cutting blue chalcedony cabochons takes patience. You’ll ruin a few pieces. That’s normal. But when you finally pull that glossy, watery-blue stone off the lap… yeah. Worth it.
Start with small pieces. Get the feel for it. Then go bigger.


 English
 Français
 عربي
عربي Deutsch